You want a fence that looks right, lasts, and fits your budget, and hiring the right contractor makes that happen. Choose a fence contractor who communicates clearly, shows proof of experience and insurance, and gives a transparent written estimate to avoid costly surprises.
This article Fence Contractors guides you through picking the right professionals, what to expect during installation, and how to maintain your investment so it stays secure and attractive for years. You’ll learn practical checks and questions to ask so you can move forward with confidence.
Choosing the Right Fence Contractors
You need a contractor who matches the fence style, timeline, and budget you’ve planned. Focus on measurable qualifications, clear written estimates, and proper licensing and insurance.
Assessing Contractor Qualifications
Ask for at least three years of local experience installing the fence type you want—chain-link, wood privacy, vinyl, or ornamental steel. Request a portfolio of recent jobs with before-and-after photos and contact information for at least two past clients you can call.
Verify that installers, not subcontractors, will perform the work unless that arrangement is clearly documented. Confirm the contractor’s familiarity with local soil, drainage, and frost-line conditions that affect post depth and material choices.
Evaluate written warranties: get details on workmanship duration, manufacturer warranties for materials, and what triggers repairs versus replacements. Check for routine practices like setting posts in concrete, using galvanized fasteners, and following local setback requirements. These specifics predict long-term performance.
Comparing Estimates and Services
Obtain at least three written estimates that break out labor, materials, permitting, and removal of old fencing. Compare unit prices (price per linear foot) and note any large variances—ask why one bid is significantly lower or higher.
Look for clarity: the estimate should state post spacing, post depth, type/grade of lumber or gauge of metal, gate hardware brand, and finishing (stain/paint/sealer). A vague “materials included” line is a red flag.
Confirm schedule and payment terms: a realistic start date, anticipated duration, and a payment plan with a modest deposit (commonly 10–30%) and final payment only after final inspection and cleanup. Include change-order procedures in writing so you know how additional work will be priced and approved.
Checking Licenses and Insurance
Ask for the contractor’s business license number and confirm it with your city or county building department. For specialized fences (electrical gates, pool barriers), verify any required trade certifications or permits are in place.
Require proof of general liability insurance and workers’ compensation that names you as an additional insured when requested. Note policy limits—$1 million general liability is a common baseline in many areas.
Verify bond status if your project requires one; bonds protect you if the contractor fails to complete the job. Call the insurance carrier and licensing board to confirm documents are current rather than relying solely on the contractor’s copies. Keep these verified documents with your contract.
Fence Installation and Maintenance
You’ll learn which fence materials suit specific needs, how contractors typically install them, and practical steps to keep a fence functional and attractive over time.
Types of Fences Installed
You’ll commonly see wood, vinyl, metal (aluminum or steel), and chain-link options offered by contractors.
Wood gives a natural look and privacy; expect cedar or pressure-treated pine for rot resistance.
Vinyl resists moisture and requires little painting; it’s best for low-maintenance privacy or picket styles.
Aluminum and steel provide a durable, decorative option with low rot risk; choose powder-coated finishes for corrosion protection.
Chain-link stays the most affordable and works well for security or pet containment.
Composite (WPC) blends wood fibers and plastic for improved longevity with a wood-like appearance.
When choosing, weigh cost per linear foot, desired lifespan, local climate, and maintenance frequency.
Also confirm whether your contractor handles permits, property-line surveys, and gate hardware installation.
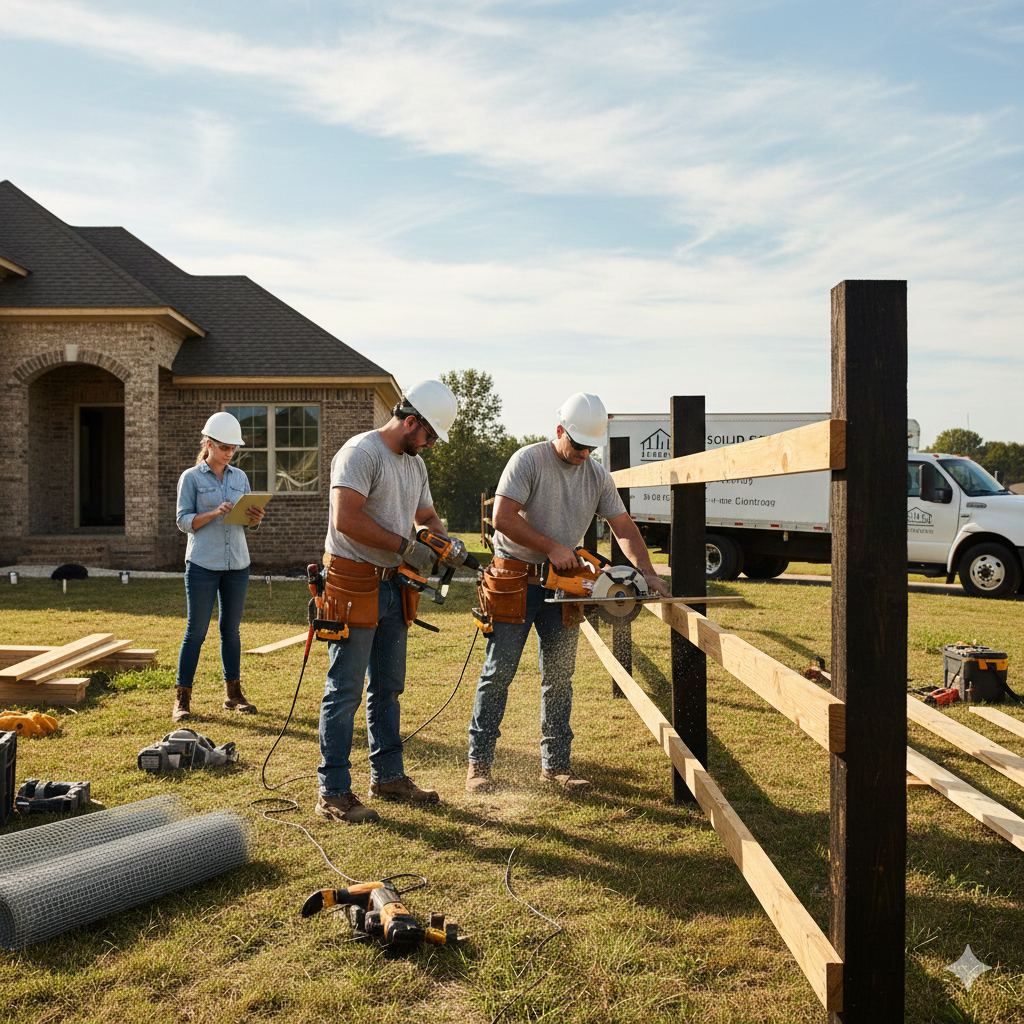
Installation Process Overview
Your contractor will begin with a site visit to confirm property lines, grade, and underground utilities.
They’ll mark post locations, dig holes (typically 24–36 inches deep depending on frost line), and set posts in concrete for stability.
String lines ensure straight panels; rails or pickets attach after posts cure.
For metal or vinyl, technicians often use pre-slotted posts and panel fasteners for precise alignment.
Expect steps such as permit acquisition, fence height and material selection, and neighbor notification if required.
Typical timelines: a simple chain-link or panel vinyl fence can be done in a day; custom wood or ornamental metal can take several days.
Confirm cleanup, disposal of old fencing, and a final walkthrough to inspect gates, latches, and finishes.
Ongoing Maintenance Tips
Create a seasonal checklist: inspect posts and rails for rot or looseness in spring and fall.
For wood fences, apply sealant or stain every 2–3 years and replace any rotten posts promptly.
Clean vinyl and metal fences with mild detergent and water; remove mildew with a diluted bleach solution if needed.
Tighten gate hardware, lubricate hinges annually, and ensure latches align to prevent sagging.
Trim vegetation away from the fence to reduce moisture exposure and insect access.
Touch up paint or powder-coated finishes to prevent corrosion on metal fences.
Document maintenance dates and any repairs to preserve warranty coverage and resale value.