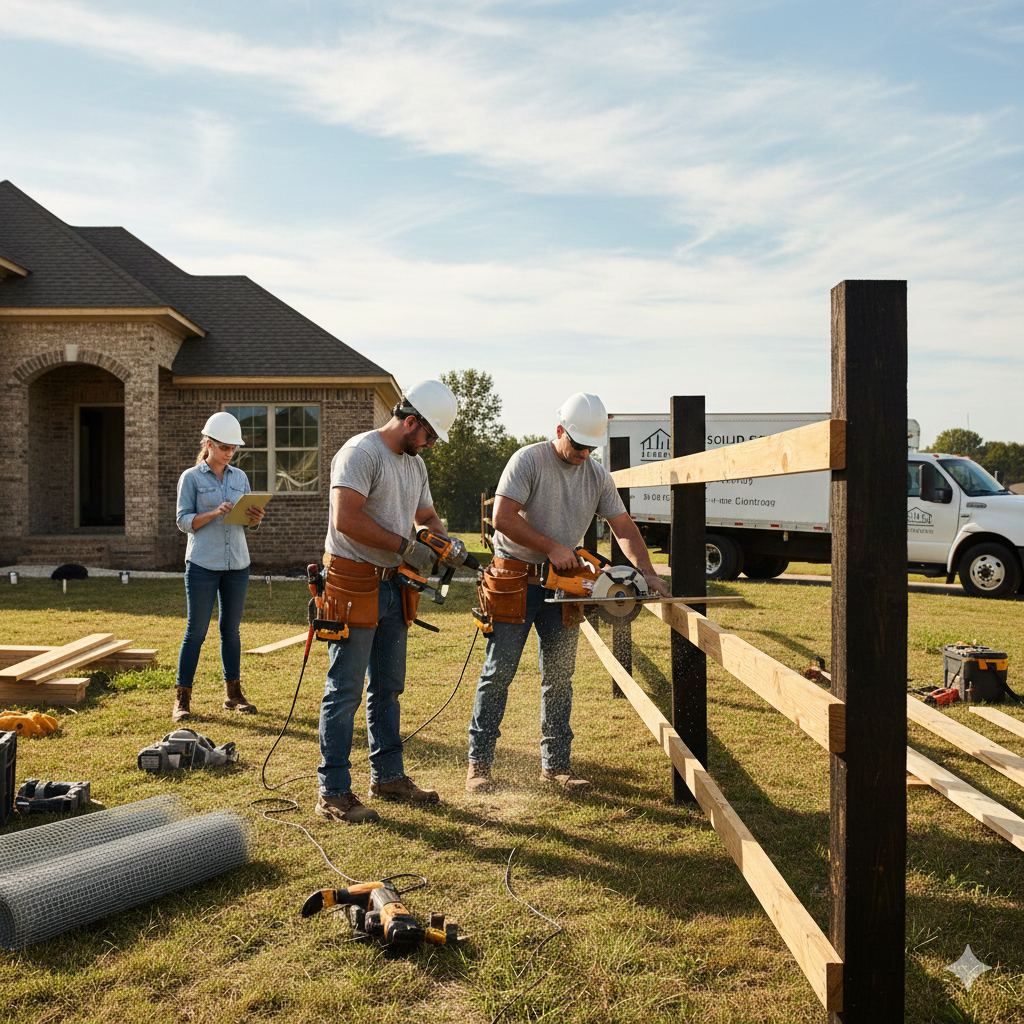
Thinking about swapping your bathtub for a shower can feel overwhelming, but it often delivers faster, safer, and more functional results than you expect. A Tub to Shower Conversion typically finishes in a day or a few days and can improve accessibility, save space, and increase home value without a full bathroom remodel.
You’ll find practical guidance on how the conversion process works, what costs and materials to expect, and which trade-offs to consider so you can plan with confidence. This article walks through step-by-step choices—from demo and plumbing to finishes and fixtures—so you can decide what fits your budget and lifestyle.
Tub to Shower Conversion Process
You’ll plan layout, select a shower type and fixtures, and complete removal and installation with attention to waterproofing and drainage. Expect trade coordination, permits if required, and a realistic timeline based on complexity.
Planning Your Conversion
Start by measuring the existing tub footprint and the surrounding wall framing. Note drain location, ceiling height, and door swing; these dimensions determine whether you can reuse the existing plumbing or need to relocate the drain and controls.
Check local building codes and whether a permit is required for plumbing or structural changes. Document water shutoff locations and electrical circuits near the tub for safety and to coordinate with licensed plumbers or electricians if moving fixtures.
Decide if you want accessibility upgrades—grab bars, low-threshold pans, or curbless entries—and factor those into framing, slope, and threshold details. Prepare a budget that includes materials, labor, and a contingency of 10–20% for unforeseen issues.
Choosing Shower Types and Features
Decide between prefab shower pans, acrylic surrounds, or custom-tiled bases. Prefab systems reduce labor and waterproofing risk; custom tile allows more design flexibility but requires a cement backer, proper slope, and a waterproof membrane.
Pick door and enclosure styles: sliding, pivot, or frameless glass. Frameless glass looks modern but needs precise framing and thicker glass; curtains or simple glass panels cost less and work well in smaller bathrooms.
Select hardware and fixtures—valve type (pressure-balanced or thermostatic), showerhead style (fixed, handheld, or combo), and trim finish. Choose a curb height that meets your accessibility goals and confirm the shower pan slope and drain type will meet code.
Installation Steps
Begin by removing the tub and surrounding wall material down to studs, protecting floors and nearby fixtures. Have a plumber cap lines and inspect the subfloor for rot; replace or reinforce joists if needed before proceeding.
Install or adjust the drain and rough-in plumbing to match the new shower base location. Fit a properly sloped mortar bed or prefab pan; if using tile, apply a waterproof membrane (sheet or liquid) over the subfloor and walls per manufacturer instructions.
Build or install wall assemblies—cement board or prefabricated panels—then waterproof joints and penetrations with tape and sealant. Tile, grout, or set wall panels; install the valve trim, showerhead, and door/enclosure last. Test for leaks and proper drainage before finishing trim.
Timeline Expectations
A simple swap using a prefab shower system typically takes 2–4 days if plumbing locations remain unchanged. This includes demolition, pan installation, wall panels, trim, and cleanup.
A fully tiled custom shower with a new drain location or floor repairs can take 5–10 days or more. Allow extra time for mortar cures, tile setting, and scheduling of licensed trades like plumbers or electricians.
Plan for potential delays: hidden water damage can add 1–3 days for repairs, and permit inspections may add scheduling wait time. Communicate timelines with your contractor and build a buffer into your schedule.
Cost, Benefits, and Considerations
This section outlines typical costs, practical benefits, and the key choices that affect price, accessibility, and long-term value. Read each part to decide budget, safety features, materials, and maintenance needs that fit your priorities.
Budgeting for Tub to Shower Conversion
Expect a wide price range: many projects fall between about $1,200 and $8,000, though higher-end jobs can reach $10,000–$12,000 when you add custom tile, glass, or plumbing relocations. Major cost drivers include demolition labor, shower pan or tile base, wall surrounds (acrylic/fiberglass vs. tile), new fixtures, and any plumbing or framing work.
Plan for these line items:
- Labor and permits: 30–50% of total cost.
- Materials: shower kit ($800–$3,500) or tile and waterproofing (higher).
- Plumbing/electrical changes: add $500–$2,500 depending on complexity.
- Contingency: set aside 10–20% for hidden issues like rot or code upgrades.
Get at least three itemized quotes, confirm licensing and insurance, and ask contractors about timelines and warranty terms before you sign.
Accessibility and Safety Improvements
A conversion can improve safety dramatically when you choose low-threshold or curbless designs to prevent trips. Add grab bars, a built-in seat, and slip-resistant flooring to meet mobility needs without sacrificing aesthetics.
Consider these specifics:
- Entrance: curbless or low-threshold for wheelchair or walker access.
- Fixtures: thermostatic or pressure-balanced valves to prevent scalding.
- Flooring: textured tile or anti-slip coatings rated for wet areas.
- Seating and bars: tile benches or fold-down seats and stainless-steel grab bars, properly anchored to studs.
If you or someone in your household uses mobility aids, consult an occupational therapist or aging-in-place specialist to ensure layout, reach heights, and clearances meet functional requirements.
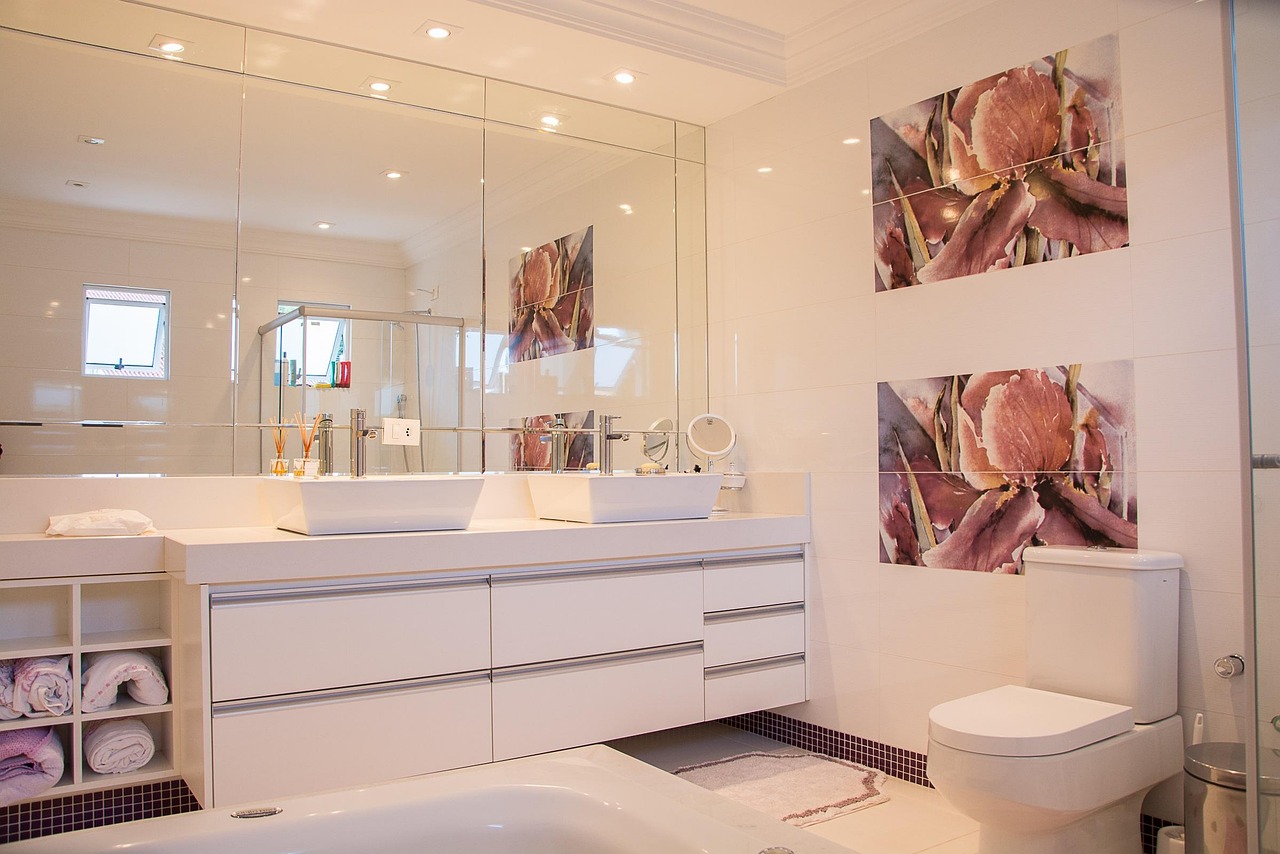
Design and Material Choices
Choose materials based on durability, maintenance, and budget. Acrylic and fiberglass kits install quickly and cost less, while tile offers customization and resale appeal but requires more labor and waterproofing.
Compare options:
- Prefab kits: faster install, lower cost, limited styles.
- Tiled surround: customizable, higher labor and waterproofing needs.
- Glass enclosures: frameless glass increases light and perceived space but costs more and needs frequent cleaning.
- Fixtures and hardware: stainless or brass finishes withstand humidity; choose ceramic or solid-surface shower pans for longevity.
Match grout type and sealants to your tile choice to reduce mold risk. Review warranty coverage and expected lifespans when selecting products.
Maintenance and Long-Term Value
Maintenance affects both user experience and resale value. Tile and grout require periodic sealing and grout cleaning; acrylic surfaces need gentler cleaners to avoid scratching. Regular maintenance prevents leaks and costly repairs.
Focus on these maintenance practices:
- Reseal grout and tile every 1–3 years depending on product.
- Clean glass with squeegees and mild cleaners to prevent hard-water stains.
- Inspect caulk and enclosure seals annually; replace when cracked.
- Check drains and valves for buildup; flush or service as needed.
A well-executed conversion that uses durable materials and proper waterproofing can increase bathroom usability and appeal to buyers, often yielding a positive return when compared to the initial cost.